

Appearance
Custom Blocks
Custom Blocks let you build bespoke After Effects animations with the Seen plugin, and bring them into Studio as reusable, personalisable Blocks.
How to install Seen plugin
Download the plugin from the Seen plugin download page.

Use ZXPInstaller to install it to After Effects.
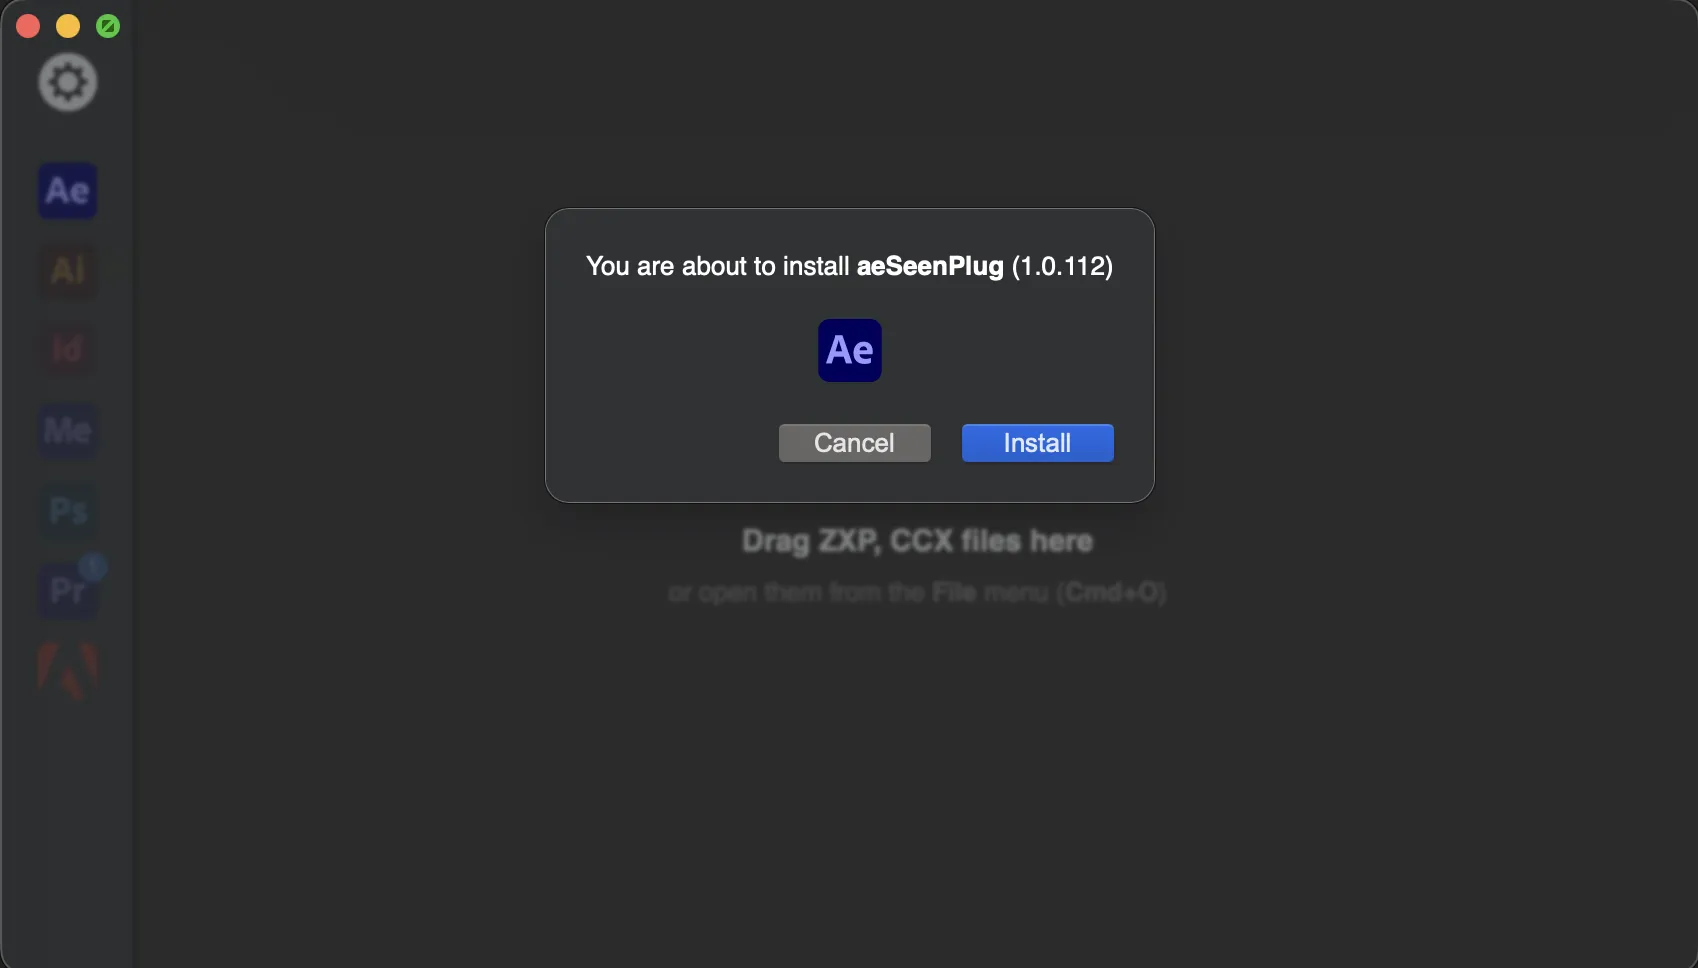
After the plugin is installed:
You can now find the plugin at window > extension > Seen.

Open a new After Effects Project (it needs to be a new one) to be able to see the update plugin button, so you can update to the latest version of the plugin.

In Preferences: make sure that Allowed Scripts to Write Files and Access Network is ticked on.

How to use Seen plugin
Clean your AE project and make sure you are following our AE guidelines.
When your composition is ready to be exported, click the Analyze button. The plugin will check if the Comp will be supported by Seen.

Adjust the project according to the error list, click Analyze again until no errors are found.

Choose a location for the export. Make sure the zip option is selected. Click Export.

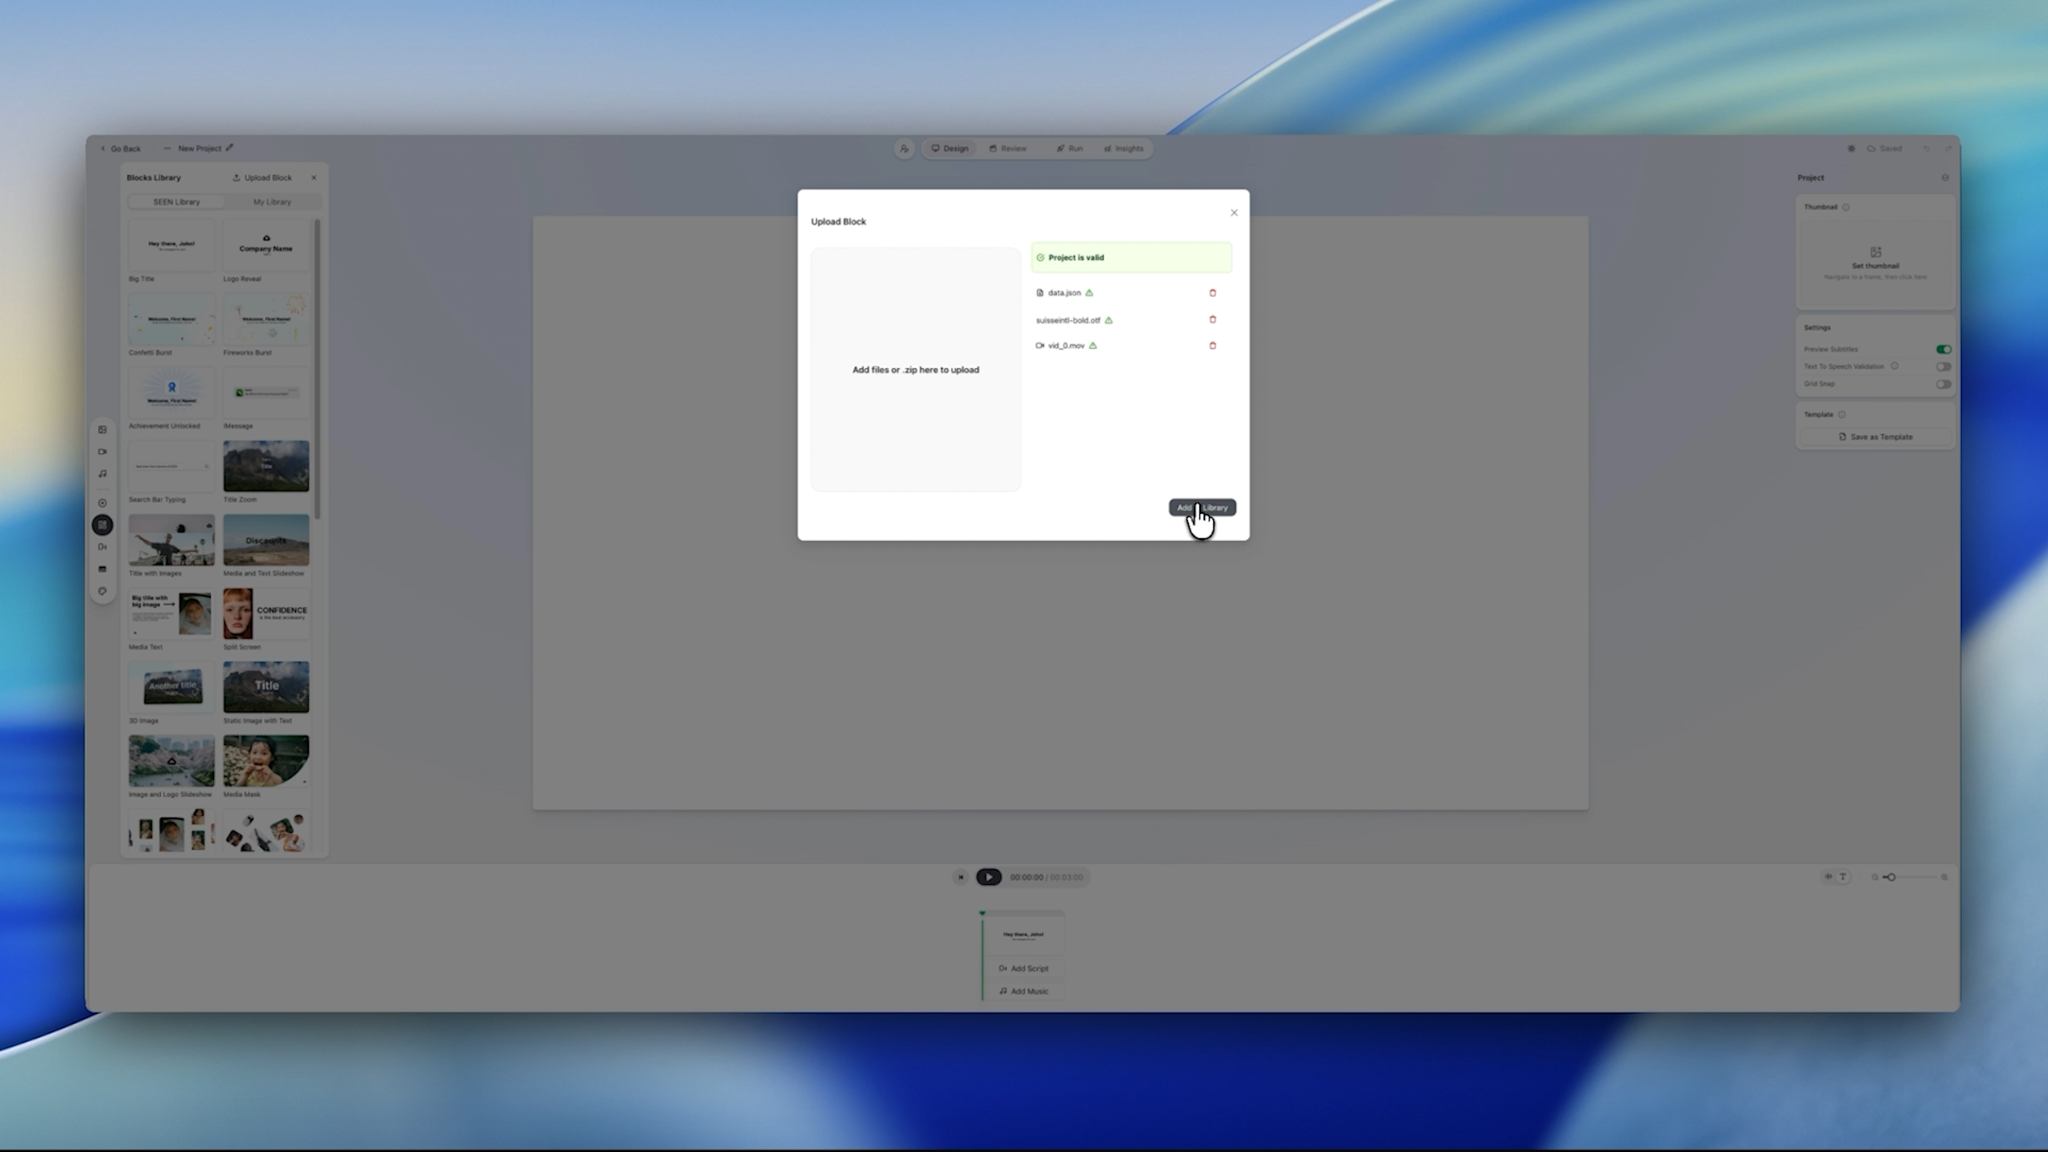
The whole zip can be uploaded as a Block inside Studio.
Guidelines
All video layers need an audio track, or you will not be able to import the block.

Comp name can only contain letters, numbers, spaces, underscores and hyphens.
The comp name will be used as the default block name in the library.
For example, an invalid comp name is rejected on upload:

Once the name follows the guidelines, the project validates successfully:

How to import and personalise your block
In your Blocks Library, use the Upload Block button and upload your zip file from the Seen plugin. Your new block can be found in My Library and added to your timeline.
Add your personalisations to your project. Adding a preview value will automatically change the video to that value.

Select your text layer and add your personalisation value.

Set your thumbnail by pressing Set thumbnail.

Go to Review and generate a preview. After reviewing the final video, press Publish when you are happy with the results.
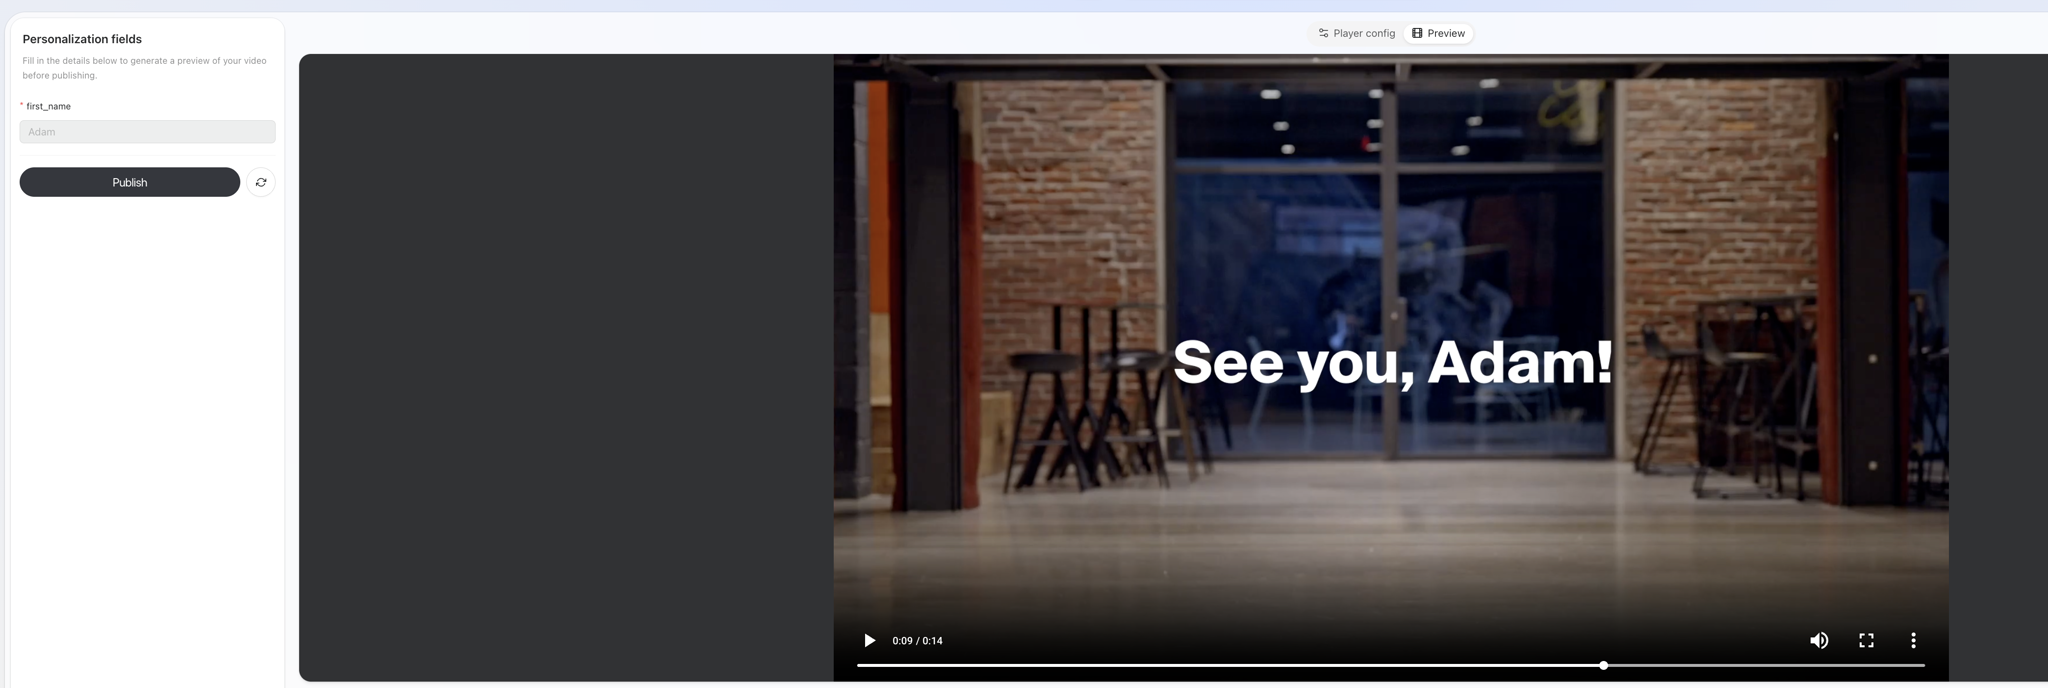
Run will use the latest Published version of the project.